Wallpaper Removal Highlight
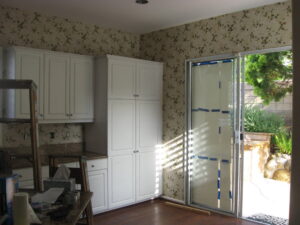
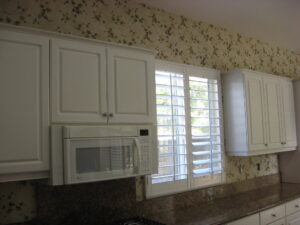
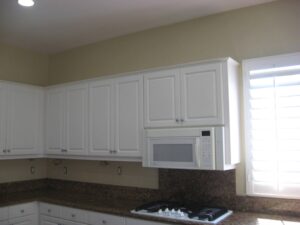
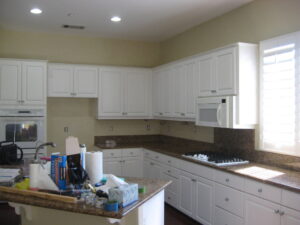
We did an on-site consultation to assess a wallpaper removal project. We came back the next week and removed all of the wallpaper in the kitchen area with the supplies we bought from Home Depot, including the Environmental Solutions Wallpaper Stripper. We also went back to remove the carpet as well, disposing of it and leaving a bare kitchen ready for remodeling.
Removing wallpaper and carpet from an old kitchen is a gritty but essential step in preparing the space for a remodel. The crew of laborers began by assessing the condition of the wallpaper, which had been layered over the years and showed signs of peeling and discoloration. To ensure a clean removal, they first scored the wallpaper using perforation tools, allowing moisture to penetrate the adhesive beneath. A solution of warm water and wallpaper remover was then sprayed generously across the surface, softening the glue and making it easier to peel away. Starting from the seams and corners, the crew used wide putty knives to gently lift the paper without gouging the drywall underneath. In areas where the adhesive proved stubborn, steamers were employed to loosen the bond, ensuring the wall was left smooth and ready for patching and priming.
Once the wallpaper was cleared, attention shifted to the carpet, which had absorbed decades of kitchen traffic and spills. The crew began by removing baseboards and transition strips to expose the carpet edges. Using utility knives, they sliced the carpet into manageable strips, rolling each section tightly to minimize dust and debris. Beneath the carpet lay a layer of padding, which was also cut and removed, revealing the tack strips nailed around the perimeter. These strips, lined with sharp tacks, were pried up carefully using flat bar tools to avoid damaging the subfloor. Any remaining staples or nails were pulled out with pliers, and the floor was swept thoroughly to remove residual dust and adhesive.
Throughout the process, the crew wore protective gear—gloves, masks, and knee pads—to guard against allergens, mold, and sharp objects. They worked methodically, ensuring that each surface was properly prepped for the next phase of the remodel. By using the right tools and techniques, they preserved the integrity of the underlying structure and created a clean slate for new flooring, cabinetry, and finishes. The result was a stripped-down kitchen, ready to be transformed into a fresh, functional space.
1 gal. Roman Pro Wallpaper Stripper
3.25 in. Paint Remover Tool
14 in. x 17 in. 2-in-1 Paint Towels (12-Pack)
HDX All Purpose Sponge
ZEP 32 oz. Professional Sprayer
3.5 gal. Black Pail from Home Depot