How to Repair and Replace VCT Tile
Featured image: “Floor Tile ~ Eastern Market ~ Detroit” by VasenkaPhotography is licensed under CC BY 2.0
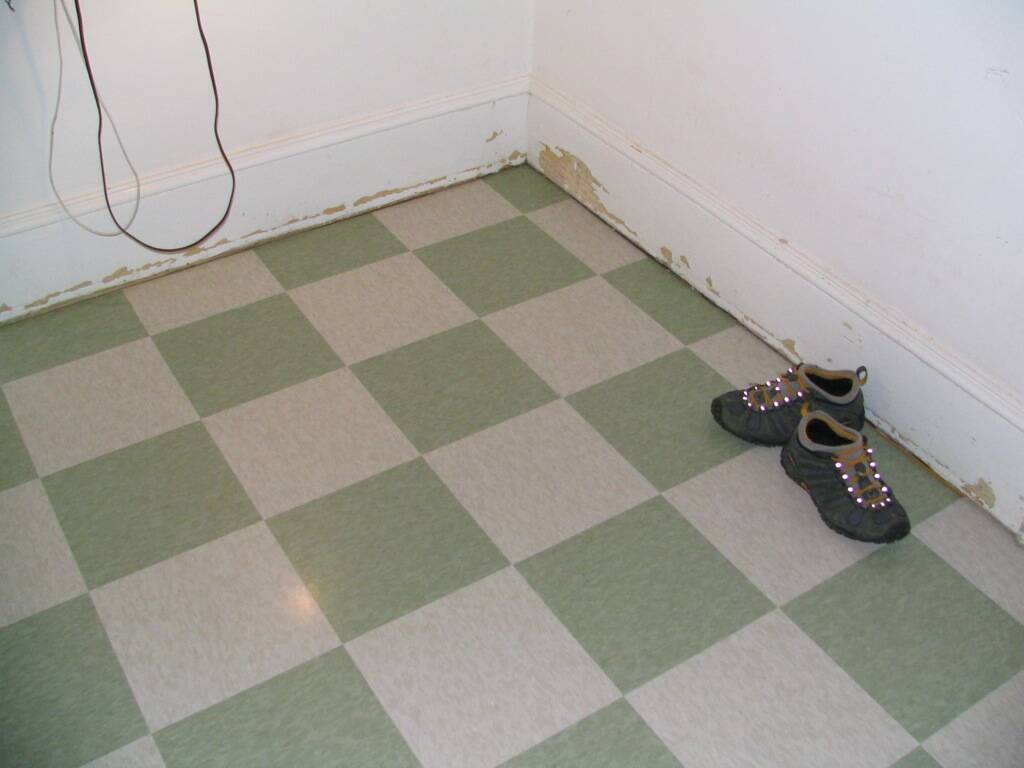
VCT is a common floor tile typically found in commercial locations, industrial locations, schools, and other areas. It is the vinyl tile you might remember from the hallways of your high school.
Over time, VCT can be damaged, often when moving appliances or furniture. In this guide, we will discuss VCT in detail and give you some tips on how to repair it.
What is VCT tile?
For many people who are used to the phrase “VCT tile”, it means Vinyl Composition Tile.
It is an inexpensive and attractive house flooring material that is in such wide use, the Resilient Floor Covering Institute estimated that the total area of vinyl flooring installed in homes over the course of one year could cover all of Manhattan.
This flooring material is durable, easy to maintain and quick to install even in DIY situations.
Who sells it?
VCT tiles can be easily found in most flooring materials companies store. For ease and convenience, you can also check the company’s websites or local listing sites in your region.
How do you get samples?
These sellers offer free samples to their customers. To get one, you only need to visit their website and locate the page dedicated for such. You will need to specify; easier if you have the product ID.
Some of them sell customized VCT tiles, you only need to get your design across to them.
In case your preferred seller does not have a website, you may give them a call. If they offer such a service, they will take you through the required process.
What textures and colors does it come in?
VCT tiles come in different colors like black, black and white, Charcoal, etc. It can come virtually in any color form.
The design and area of the room it will be used usually determines the texture.
“New Floor Tiles” by thebaron03 is licensed under CC BY-ND 2.0
Some of the popular VCT tiles include: Luxury Vinyl Tile; Homogenous Sheet Vinyl; Heterogeneous Sheet Vinyl; Vinyl Composition Tile; among others.
Best practices?
Before purchasing VCT tiles from any dealer, make sure to confirm they deliver what they promise. A simple search of their online review may give them out.
If possible, ask past customers about their product before placing an order.
Brands?
Some of the popular VCT tiles brand include:
- Armstrong
- Forbo
- Rubber Flooring
- Shaw Floors
- Flooret
- Moduleo
- Parterre Flooring Systems
- Amtico
How to repair/replace VCT tile
VCT tiles are undoubtedly durable, that does not mean they are undamageable. Lots of times, they are damaged from scratch especially when a piece of furniture is dragged on them (just as stated earlier). Dropped objects, cutlery or broken glass can also make a hole in a VCT tile.
Before starting this DIY replace/repair, you will need the following:
- Masking tape
- Heat gun, clothes iron or hairdryer
- Puffy knife
- Stiff paint scraper
- Sharp paint scraper
- Pliers
- Rag
- Mineral spirits
- Leveling compound
- Vinyl tile adhesive
- Replacement tile
- Rolling pin
NOTE: Getting all of these things is not mandatory, so far you can improvise. Go through the repair/replacement procedure to know things you can do without.
To repair or replace VCT tile:
- Heat the damaged tile with a heat gun, clothes iron or hair dryer. The purpose of this is simple. The heat from the heat gun, clothes iron or hair dryer will soften the adhesives underneath the VCT tile to allow for easy removal.
- Use a puffy knife to separate the tile from adjacent tiles, in case some adhesives are holding them.
- Gently move the puffy knife underneath the edge of the tile, lift with a plier.
- Apply mineral spirits to soften the adhesives.
- Scrap the exposed floor surface interchangeably with stiff and sharp paint scraper.
- Clean the surface with rag
- Apply new adhesives on the surface of the floor portion you will be placing the new VCT tile. In the case of repair, there will be no need of replacing, the former tile will be re-used.
- Spread some adhesives on the tile.
- Gently place the new tile on the allotted floor portion.
- Set it in place by rolling the rolling pin across it.
- Clean the tile edge and surface with rag already immersed in mineral spirit to remove excess adhesives.