Simple DIY Ways to Upgrade Your Kitchen Cabinetry (Without a Full Remodel)
Upgrading your kitchen cabinets doesn’t have to mean gutting your space or spending thousands. In fact, some of the most transformative changes are surprisingly simple — and totally doable as a weekend DIY. From fresh paint to molding, wallpaper, hardware swaps, and clever inserts, these upgrades can make your kitchen feel custom, intentional, and beautifully refreshed.
Below are several beginner‑friendly projects, the steps to complete them, and the materials you’ll need for each — all inspired by expert‑recommended techniques. We have tried to list projects that a person can do themselves. Of course, time and ability may still be an obstacle. If that’s the case reach out to Edwards Enterprises and we’d be glad to help out.
1. Give Cabinets a Fresh Coat of Paint
A new color is one of the most dramatic and cost‑effective upgrades you can make. Designers emphasize that cabinet color plays a huge role in the kitchen’s overall ambiance.
Materials & Tools
- Cabinet paint (latex or alkyd)
- Primer
- Degreaser or TSP substitute
- Sandpaper (120–220 grit)
- Painter’s tape
- Drop cloths
- Paintbrushes + foam rollers
- Screwdriver (to remove doors/hardware)
Steps
- Remove cabinet doors, drawers, and hardware.
- Clean all surfaces thoroughly with a degreaser.
- Lightly sand to remove sheen.
- Wipe clean and apply primer.
- Paint in thin, even coats — letting each coat dry fully.
- Reassemble once cured.
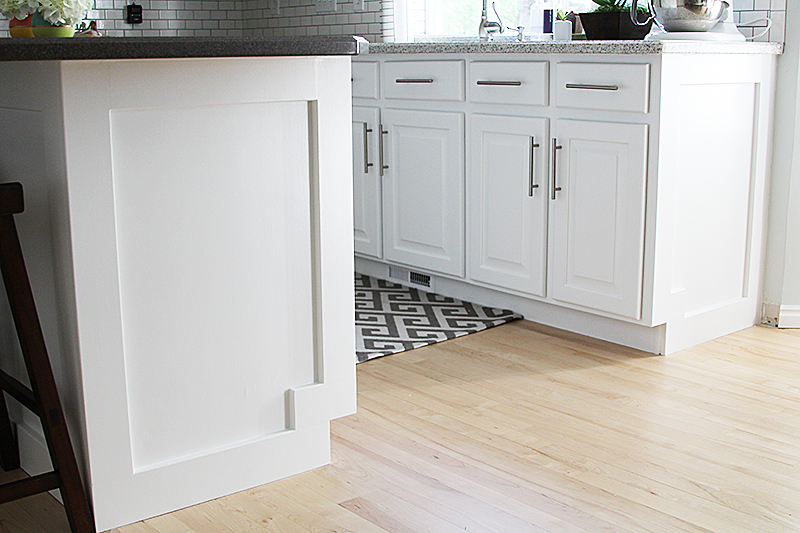
2. Add Molding for Instant Character
Molding adds depth, height, and architectural interest — from simple Scandinavian lines to classic crown molding.
Materials & Tools
- Wood molding or peel‑and‑stick molding (renter‑friendly option)
- Miter saw or miter box
- Wood glue or construction adhesive
- Brad nailer (optional)
- Caulk + caulk gun
- Paint
Steps
- Measure cabinet tops or door fronts.
- Cut molding at 45° angles for clean corners.
- Attach using adhesive or nails.
- Caulk seams for a seamless look.
- Paint to match or contrast your cabinets.
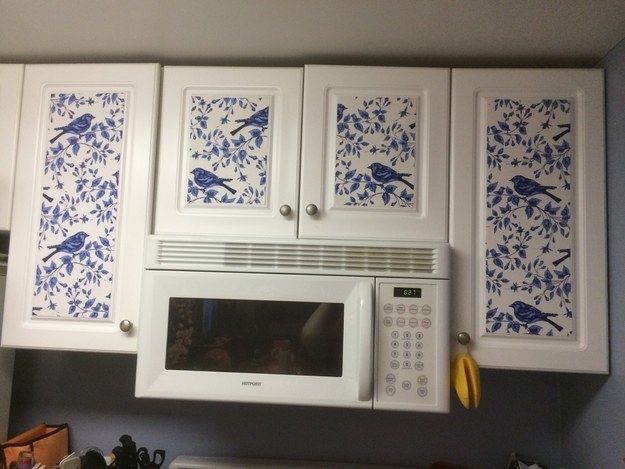
3. Try Removable Wallpaper (Inside or Outside)
Wallpaper is a bold, low‑commitment way to add pattern and personality. It works inside cabinets, behind glass fronts, or even on door fronts.
Materials & Tools
- Removable wallpaper
- Utility knife
- Smoothing tool
- Measuring tape
Steps
- Measure the area you want to cover.
- Cut wallpaper slightly oversized.
- Peel backing and apply from top down.
- Smooth out bubbles as you go.
- Trim edges cleanly.
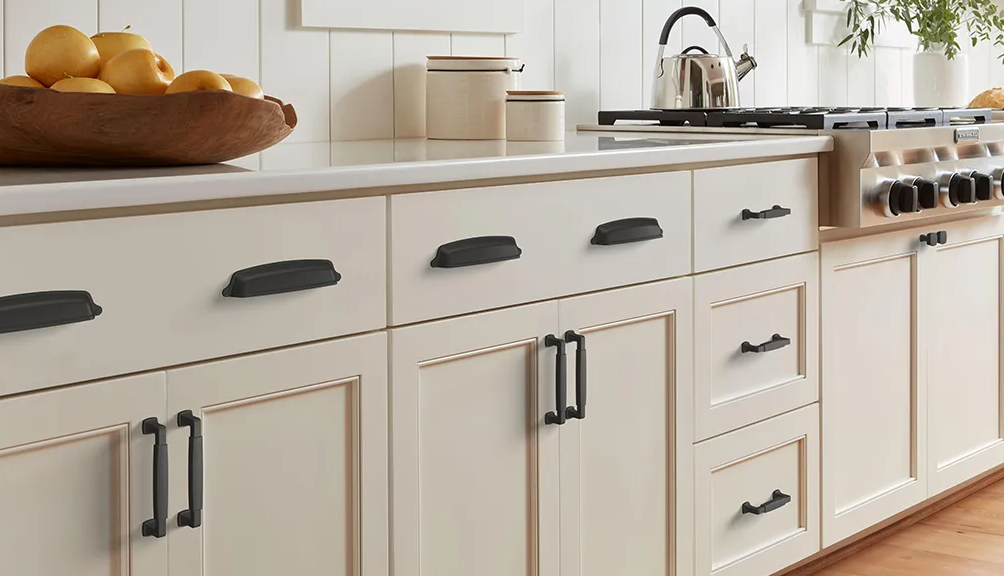
4. Swap Out Old Hardware
One of the quickest upgrades — and often the most satisfying. New knobs and pulls instantly modernize dated cabinetry.
Materials & Tools
- New knobs or pulls
- Screwdriver or drill
- Measuring tape
- Optional: wood filler + touch‑up paint (if changing hole spacing)
Steps
- Remove old hardware.
- Measure hole spacing to match new pulls.
- Install new hardware.
- Touch up any scuffs or paint chips.
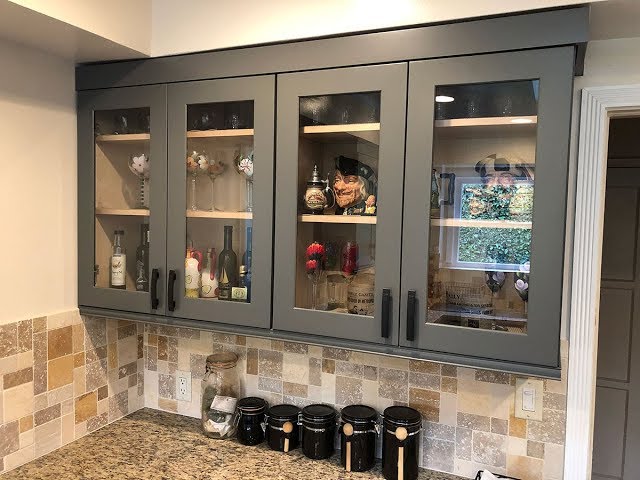
5. Add Glass Inserts to Cabinet Doors
A classic upgrade that makes kitchens feel lighter and more open. You can choose clear, frosted, ribbed, or seeded glass for different looks.
Materials & Tools
- Router or jigsaw
- Sandpaper
- Glass panel (cut to size)
- Glass clips
- Paint (optional)
Steps
- Remove the door and mark the inner panel.
- Use a router to remove the center panel.
- Sand edges smooth.
- Paint the frame if desired.
- Secure the glass panel with clips.
- Reinstall the door.
6. Add Cane Webbing or Decorative Panels
For a warm, textural look, cane webbing behind glass is a beautiful upgrade — or use wood panels for a farmhouse feel.
Materials & Tools
- Cane webbing or thin wood panel
- Glass panel (optional)
- Wood glue or adhesive
- Small square dowels
- Pin nailer (optional)
- Paint
Steps
- Follow the glass‑insert steps above.
- Cut cane or wood panel to size.
- Layer cane + backing panel behind the glass.
- Secure with dowels and nails.
- Paint or stain as desired.
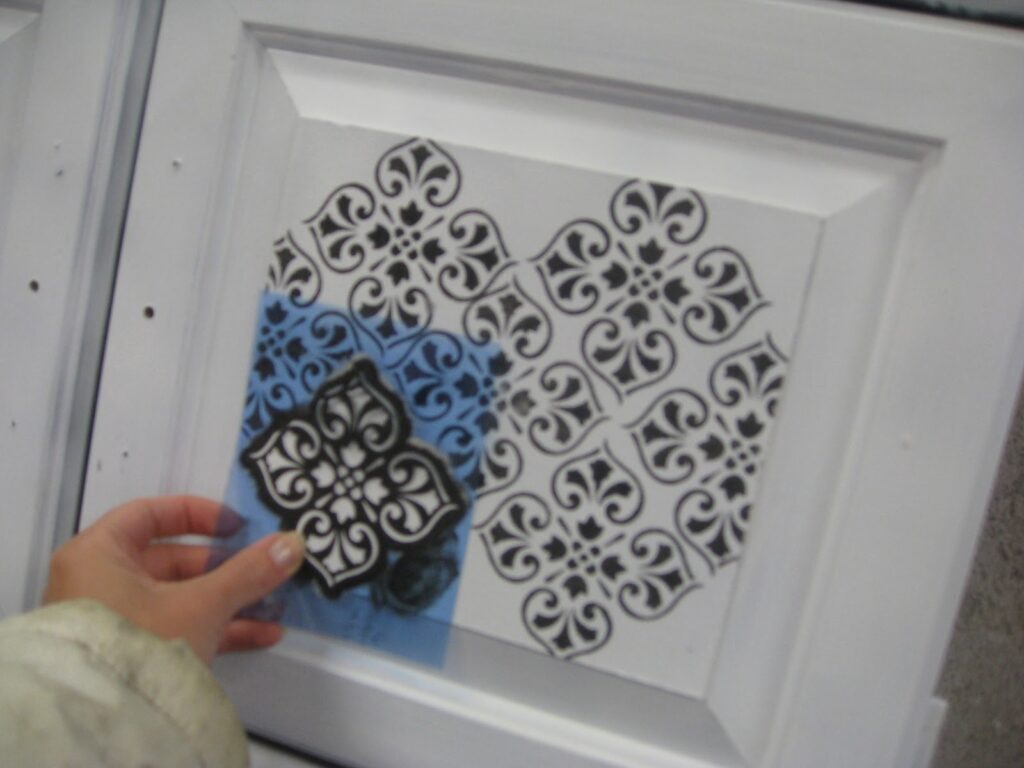
7. Add Stenciled or Painted Patterns
A stencil can turn a plain cabinet door into a custom piece of art.
Materials & Tools
- Stencil
- Painter’s tape
- Stencil brush
- Acrylic or cabinet paint
Steps
- Paint the base color and let dry.
- Tape stencil in place.
- Dab paint lightly with a stencil brush.
- Remove stencil to reveal the pattern.
8. Install Sliding or Pull‑Out Shelves
This upgrade boosts functionality — especially in lower cabinets — and is easier than you might think.
Materials & Tools
- Pre‑made sliding shelf kits
- Drill
- Screws
- Measuring tape
Steps
- Measure cabinet interior.
- Choose a sliding shelf that fits.
- Install rails using screws.
- Slide shelf into place.
Comparison Table: Which Upgrade Is Right for You?
| Upgrade Type | Difficulty | Cost | Best For | Tools Needed |
|---|---|---|---|---|
| Painting | Moderate | Low–Medium | Full visual refresh | Brushes, rollers, sandpaper |
| Molding | Moderate | Low | Adding character | Miter saw, adhesive |
| Wallpaper | Easy | Low | Pattern + color | Utility knife, smoothing tool |
| Hardware Swap | Easy | Low–Medium | Quick modern update | Screwdriver |
| Glass Inserts | Moderate–High | Medium | Light, airy look | Router, glass clips |
| Cane/Wood Panels | Moderate | Medium | Texture + warmth | Adhesive, dowels |
| Stenciling | Easy | Low | Artistic detail | Stencil brush |
| Sliding Shelves | Easy–Moderate | Medium | Better storage | Drill |
Risks & Tips to Avoid Common DIY Pitfalls
- Paint adhesion issues
Always degrease and sand — kitchen cabinets collect more residue than you think. - Molding gaps
Use caulk to hide imperfections and create a seamless finish. - Hardware misalignment
Measure twice before drilling; mismatched holes are hard to hide. - Glass insert safety
Wear protective gear and consider having a glass shop cut panels for you. - Wallpaper peeling
Clean surfaces thoroughly and avoid applying over glossy finishes.