How to Replace a Ceiling Fan Chain Pull Switch
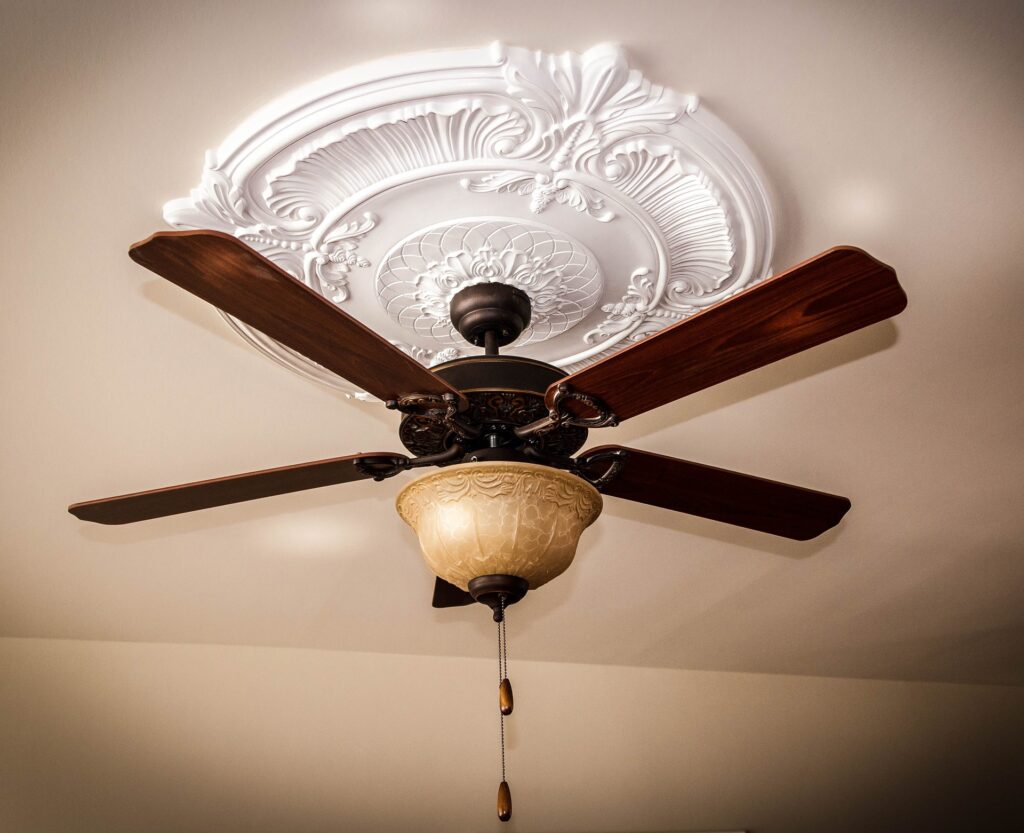
Ceiling fans are one of the must have house appliances in a every home. It is especially helpful during the hot summer moths to ease heat. Ceiling fans are known as a cheap way of cooling off in hot weather it provides the room with a cool wind and breezy feeling. The reason why it is preferred to be use in the classrooms and public places is because by using ceiling fan you can save space and unlike stand fan it can’t reach by children making it safer to be used, it also save you money because ceiling fan cost less electric power than an air conditioning. Ceiling fan keeps the air from circulating inside the room creating a cool breeze this also helps get rid of the pest or insect like mosquito and flies. Aside from that ceiling fan also has a variety to choose from.
The most common cause of a broken ceiling fan pull chain is excessive force on pulling, cut off chain, and rusting of the chain. In replacing the broken ceiling fan pull chain you don’t have to remove the whole ceiling fan and move the wires connected to the walls and ceiling fan. The only part that you will be removing is the light kit part.
The first step in replacing the pull string of the ceiling fan you first need to shut the power life off to avoid electrical grounding accidents ( only necessary if your ceiling fan is built with a light package).
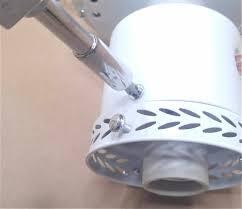
Once you successfully shut the electricity off you can then proceed on using a ladder to remove the screws that secures the light kit to the ceiling fan. Most of the time the screws are located in each end above the light kit where the pull string is placed, keep in mind that when doing this secure the bottom of the light kit with your other hand to prevent it from falling.
Once it’s open and you will see a lever that is made from plastic that is covering the wires, to separate this lever carefully unhook or push the lever button that should disconnect the wires on the light kit.

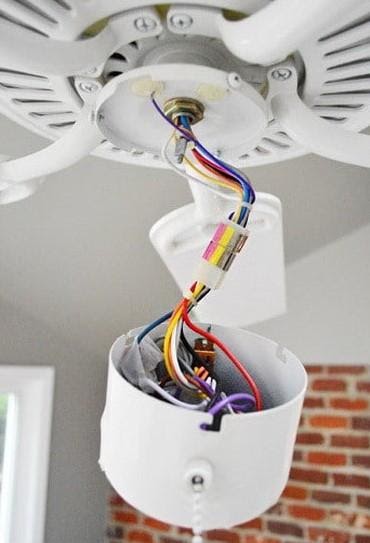
Once it’s open and if you look on the inside of the light kit you will see a bunch of wires messed up all together but if you look from the outside it will give you a clue on where the pull chain was originally located.
The next move is to remove the piece where the pull chain is located in the inside to do this you will look at the piece where in the pull chain broke off from the outside and trace it back to the inside you will see a small piece off and what you must do is separate the two or remove it to do this you will unscrew the piece that is from the outside.
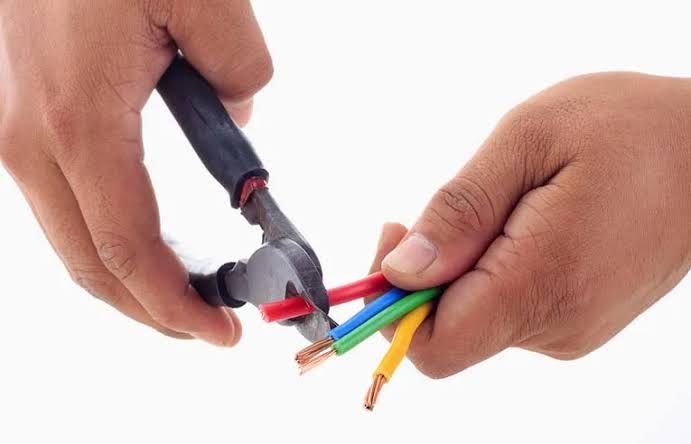
The next part of the step is a bit tricky but if you follow these steps you will finish just fine. Cut the wire that is connected to the switch that you are replacing, keep in mind to cut the wire as close as possible to the switch so it will give you a lot of remaining wire to make a splice (splice is when you joined two wires to become one the joint where the two wires are connected is what you call splice).
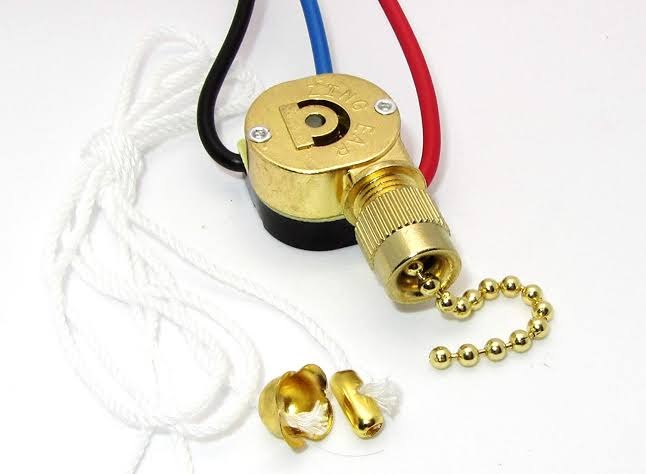
- Strip the end wires of the wires that are connected to the light kit for about ½ inch. Do the same to the new switch that you will be using to replace the old switch.
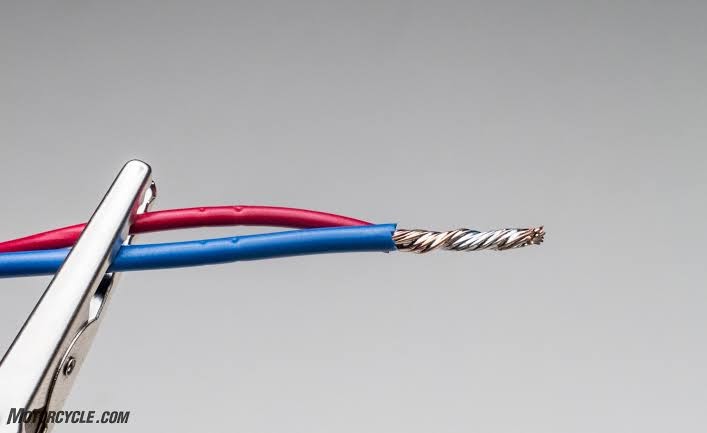
- Connect the corresponding color of the wire to the new switches wire with each other like in the picture above. You can do this by twisting the stripped wires together. This helps to have less likelihood of coming apart when shortening out. Once done secure it with a higher nut or an electrical tape this helps prevent them from tapping other wires preventing grounding or short circuit
Once you’re done with connecting the wires together you can then position them back to their original places. Slip the pull chain through the hole where it’s supposed to be and secure the piece by screwing back the finish on the external piece.
Test to see if the pull chain is working and sturdy then reattach the wiring harness together and re-install the light kit back to its place by screwing back the screws removed earlier. Once it’s done turn the power on and see if it’s working and if no problem occurred you have successfully replaced your broken ceiling fan pull switch.