Building a Basic Wooden Shelf: Materials and Techniques
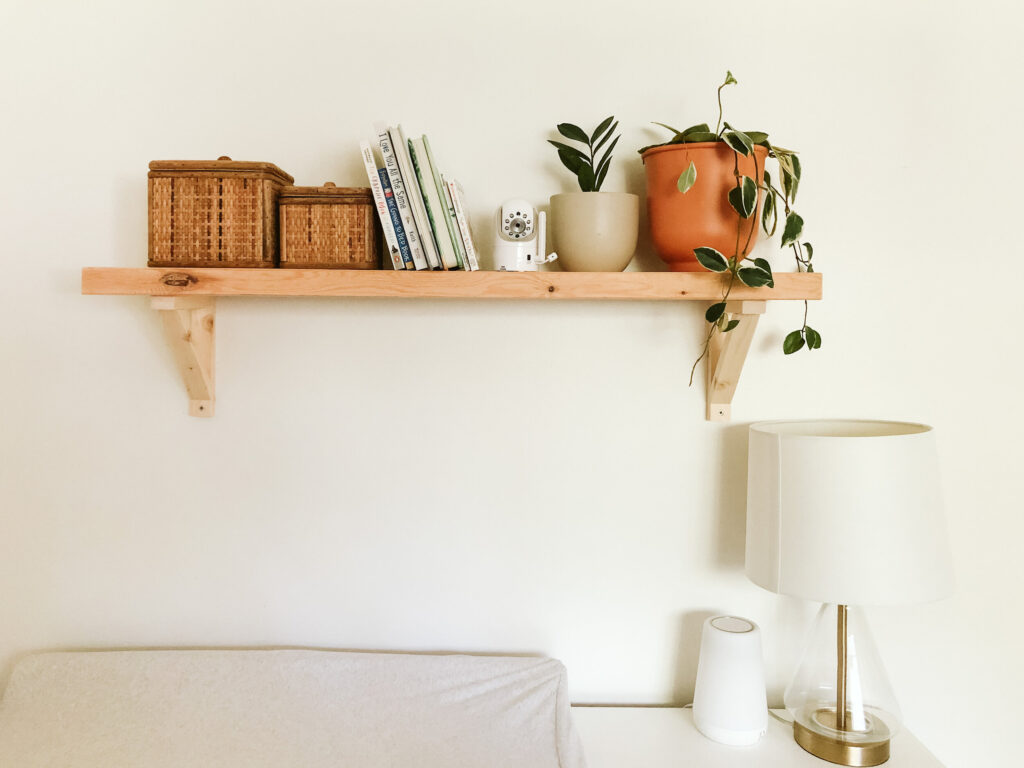
A well-built wooden shelf not only adds functionality to a room but also enhances its aesthetic appeal. Building a basic wooden shelf is a manageable DIY project that, with the right materials and techniques, can be accomplished by anyone with a bit of patience and creativity. Here’s a step-by-step guide to get you started.

Materials You’ll Need:
- Wood Boards: Choose a quality wood such as pine, oak, or plywood, depending on the strength and finish you desire.
- Brackets: Metal or wooden brackets to support the shelf.
- Screws: Suitable length screws for attaching the brackets to the wall and the shelf.
- Wall Anchors: For additional support, especially if you are not drilling into studs.
- Sandpaper: For smoothing the edges and surface of the wood.
- Paint or Stain: Depending on the finish you want for your shelf.
- Measuring Tape: To ensure accurate measurements.
- Level: To ensure your shelf is perfectly horizontal.
- Drill: For making holes for screws.
- Screwdriver: For tightening screws.
- Pencil: For marking measurements.
Step-by-Step Techniques:

Plan Your Shelf:
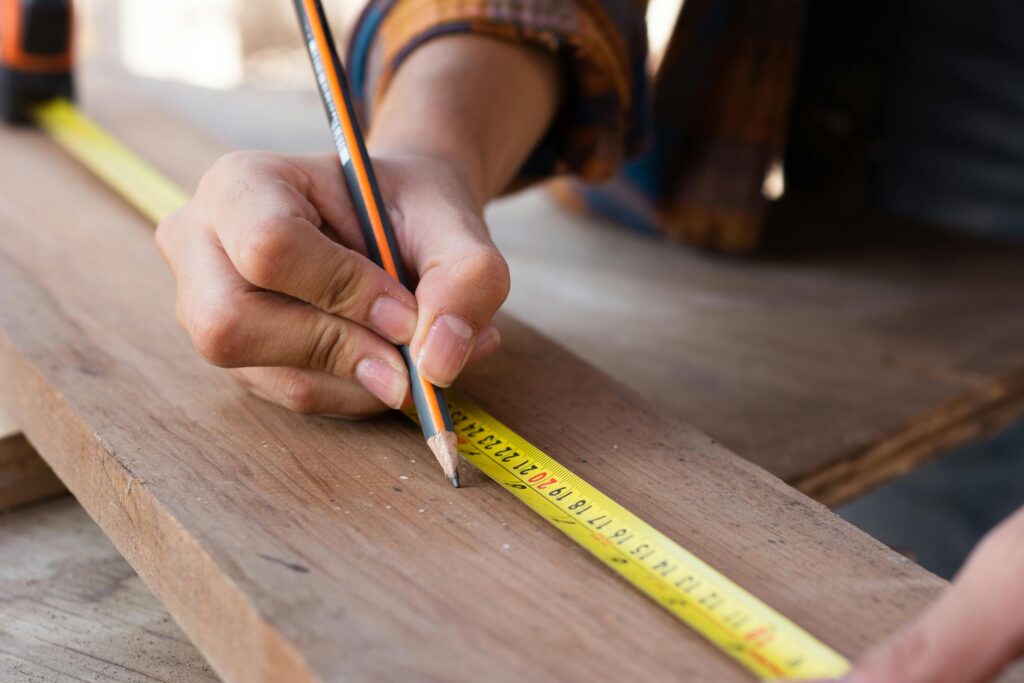
- Determine the size and location of your shelf. Measure the space where the shelf will be installed and decide on the length and width of the shelf.
- Consider the weight that the shelf will need to support and choose your materials accordingly.
Prepare the Wood:
- Cut the wood to the desired length and width. If you do not have the tools for cutting, many hardware stores offer cutting services.
- Sand the edges and surface of the wood to remove any rough spots and ensure a smooth finish. Start with a coarse-grit sandpaper and finish with a fine-grit sandpaper.
Finish the Wood:
- Apply paint or stain to the wood, following the manufacturer’s instructions. This not only enhances the appearance but also protects the wood. Allow the paint or stain to dry completely before proceeding
Install the Brackets:
- Mark the positions of the brackets on the wall, ensuring they are level and evenly spaced. Typically, brackets should be placed about 12 inches apart for stability.
- Drill pilot holes for the screws and insert wall anchors if you are not securing the brackets into studs.
- Attach the brackets to the wall using screws. Make sure they are firmly secured and level.

Mount the Shelf:
- Place the shelf on the brackets. Ensure it is centered and overhangs evenly on both sides.
- Secure the shelf to the brackets using screws. Drill pilot holes into the bottom of the shelf for the screws to prevent the wood from splitting.
Final Touches:
- Double-check that the shelf is level and securely attached. Make any necessary adjustments.
- Add any decorative touches or additional coats of paint or stain if desired.
Building a basic wooden shelf is a satisfying project that combines practical skills with creativity. With the right materials and techniques, you can create a sturdy and stylish addition to any room in your home. Whether you’re a seasoned DIYer or just starting out, this guide should help you get the job done right.
For professional help or more intricate projects, Edward’s Enterprises is here to assist. Our skilled team can handle all your carpentry needs with precision and care. Contact us today to get started on your next project