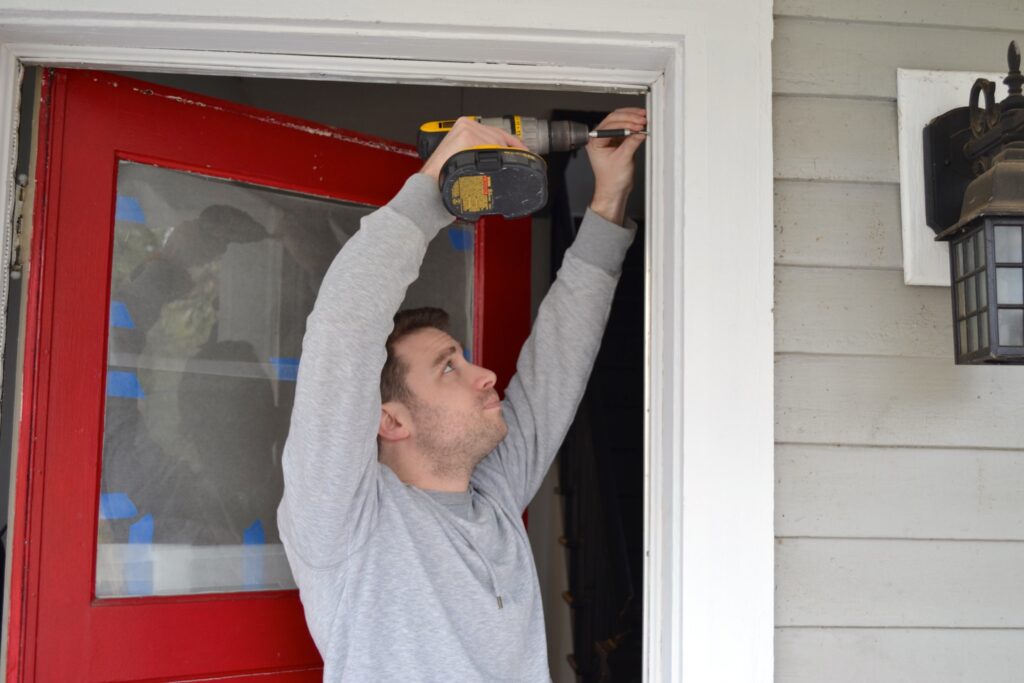
Seal the Deal: DIY Front Door Weather Stripping & Sweep Replacement

Your front door is the gatekeeper to your home, and when it’s letting the air you want in the house out and the air you want outside in, all while letting dust and bugs enter at will, it’s time to do some sealing. Replacing weather stripping and door sweeps is an easy DIY job that can instantly improve energy efficiency, block drafts, and keep your space feeling clean and comfortable.
What You’ll Need
For Weather Stripping:
- Replacement weather stripping (foam, rubber, or vinyl—check your current type)
- Tape measure
- Scissors or utility knife
- Screwdriver (optional for rigid types)
- Adhesive remover (if needed)
For Door Sweep:
- Replacement sweep (choose brush, rubber, or heavy-duty types)
- Drill or screwdriver
- Screws (usually included)
- Utility knife or metal snips (if trimming is needed)
Step 1: Strip & Prep
Start by opening your door and taking a good look at the current weather stripping and sweep. If it’s cracked, peeling, or has the resilience of a sun-dried starfish, it’s got to go.
- Remove Old Materials: Gently peel off the old stripping. If it’s stubborn, a bit of adhesive remover and patience will help. Unscrew the door sweep if it’s attached with hardware.
- Clean the Surface: Wipe down the door edges to remove dust and residue—think of it as exfoliation for your entryway.
- Measure Precisely: Measure the top and sides of your door frame, and the width of the door for the sweep. Accuracy here means you won’t end up with gaps wider than a sand dollar.
Step 2: Add the New Stripping
Now that you’ve got clean, ready-to-go surfaces, it’s time to make your door airtight without losing that coastal vibe.
- Cut to Fit: Trim the new stripping to match your measurements.
- Install: Peel and stick foam or vinyl strips along the edges. Press firmly to ensure good adhesion. If you’re using a screw-on type, align it and secure with screws.
- Test It: Close the door and look for light leaks. A snug fit means you’re one step closer to a draft-free paradise.
Step 3: Sweep It All Together
The door sweep finishes the job and adds a solid barrier against air, bugs, and rogue tumbleweeds.
- Trim the Sweep: Match it to your door’s width. Use snips or a knife for precision.
- Align & Attach: Position it flush to the bottom edge of the door. Screw in securely without over-tightening.
- Final Check: Open and close the door—listen for smooth movement and no scraping sounds. If it’s too tight, adjust.
Need some help?
At Edwards Enterprises we handle these tasks for dozens of commercial and retail businesses. We also provide these services to many Southern California home owners. You can make these repairs and improvements yourself, but if you want it done fast and right reach out to us and we’ll be glad help out.